
All Presage Scannables Locations
Learn the location of all the scannables in the Presage mission to get the lore items and complete the seasonal triumphs.
The Presage mission was added to the game during Season of the Chosen and gives players the opportunity to get Dead Man’s Tale, unlock secrets, and read new lore items. If you’re a big lore nut like I am then you definitely want to take the time to find all of the scannables within the Presage mission so you can learn more about what happened on the Glykon.
Below is a complete list of the Presage scannables locations and the order you need to collect them in.
Locations for All of the Presage Scannables
There are 15 total scannables in the Presage mission, but you won’t be able to collect them all in a single run. These items are broken up into multiple batches with each
You’ll need to collect the first batch in its entirety to unlock the second batch of Presage scannables the following week. And you did read that correctly. Once you collect the first batch, the rest will not be scannable right away. They’ll become active after the next weekly reset.
Presage Scannable Locations
- Dead Cabal
- Scorn Tether Shell
- Opulent Guardian Ship
- Dark Ether Canisters
- Calus Hologram
- Wall Terminal
- Cabal Scorpus Turret
- Cabal Incinerator
- Laboratory Scorn
- Dead Ghost
- Chalice
- Combat Frame
- Ship Equipment Array
- Hangar Datapad
- Makeshift Cot
Figments of an Answer
The first batch of Presage scannables you can scan aboard the Glykon are part of the achievement Figments of an Answer. The first 4 are scattered throughout the mission and the 5th is immediately after the boss fight. And you’ll need to collect all 5 to unlock the final 6.
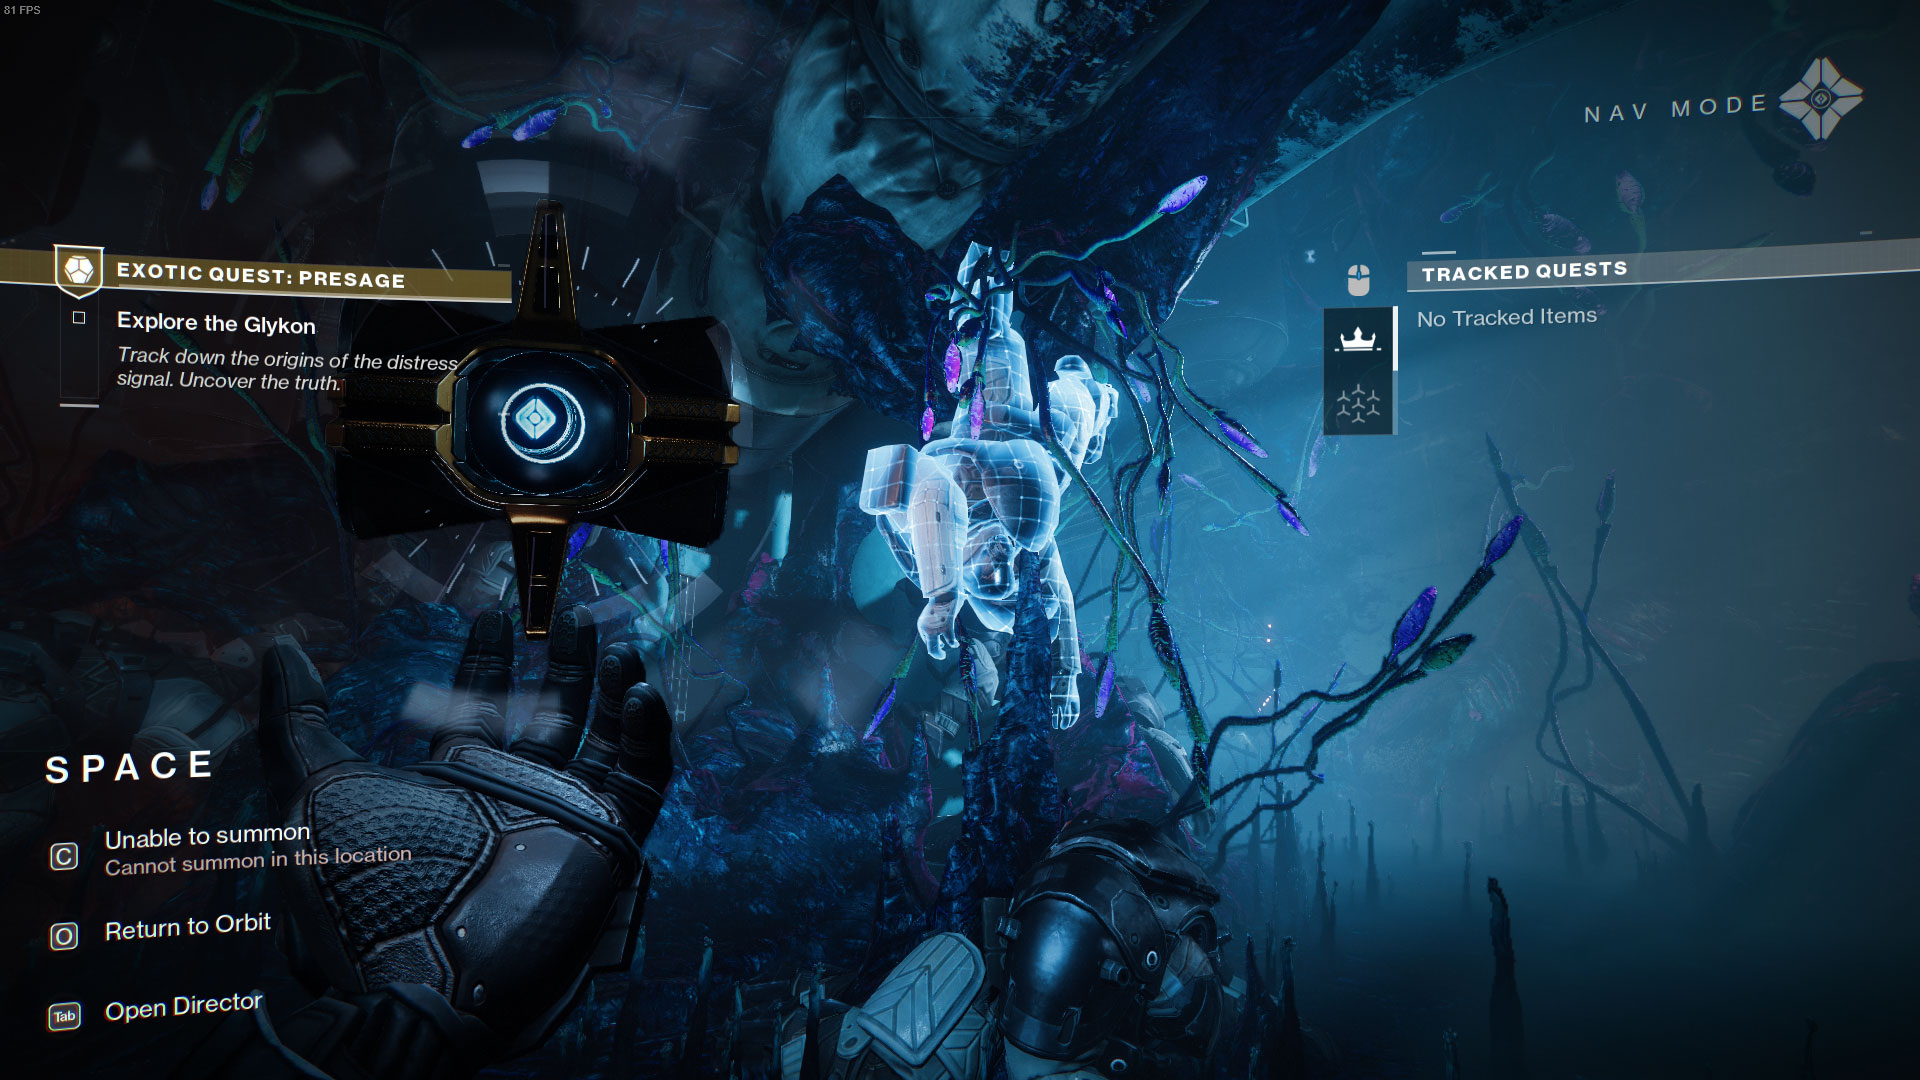
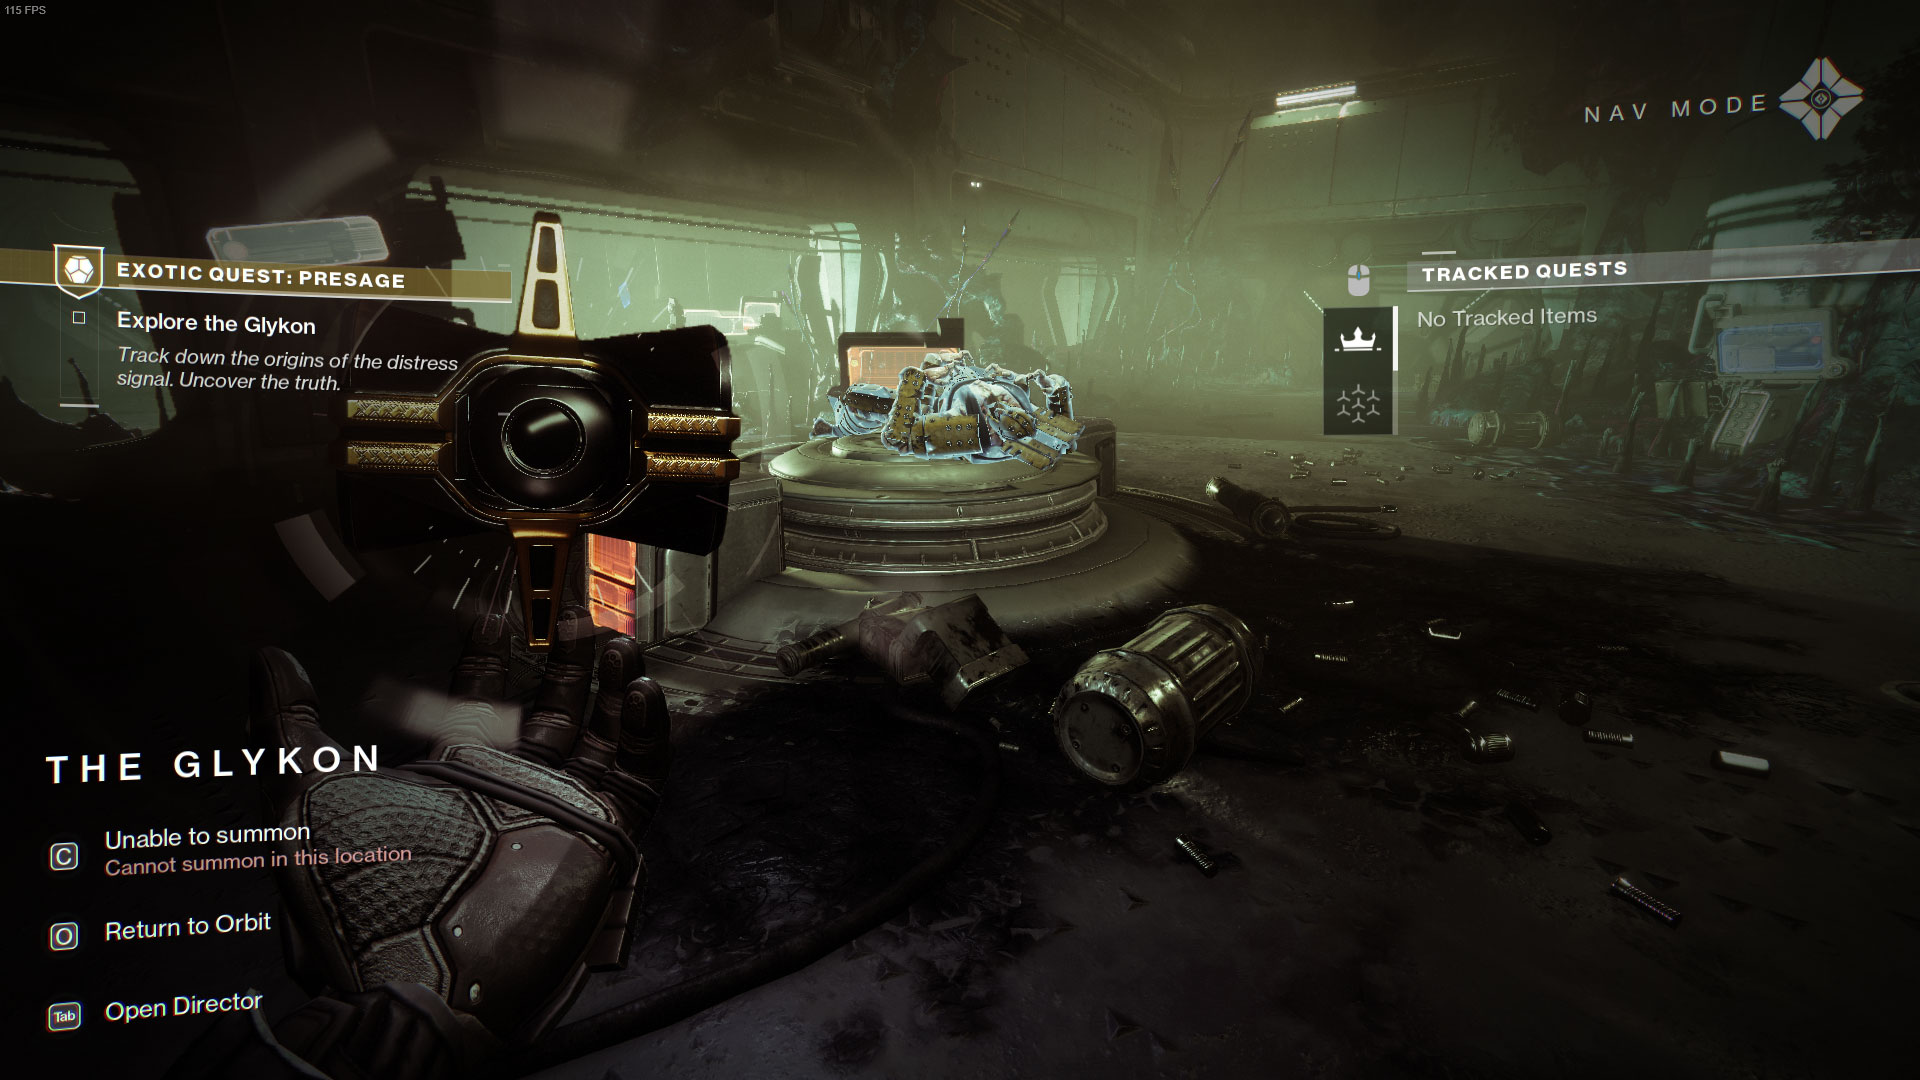
1. Dead Cabal
The first scannable in the Presage mission can be found after the first jumping puzzle/maze section. Once you enter the main part of the Glykon, go through the doors directly across from the main door, destroy the spore sack to get the Eregore’s Link buff, and cross through the Darkness barrier. The dead Cabal hanging upside down in front of you is the first scannable.

2. Scorn Tether Shell
The next scannable can be found in the section where you first see the giant electrical barriers inside of Presage. Once you drop down into this area, jump across the open expanse in front of you to the platform on the other side and then go to the right of the pillar in front of you and the Tether Shell will be right there on the ground before the next Darkness barrier.
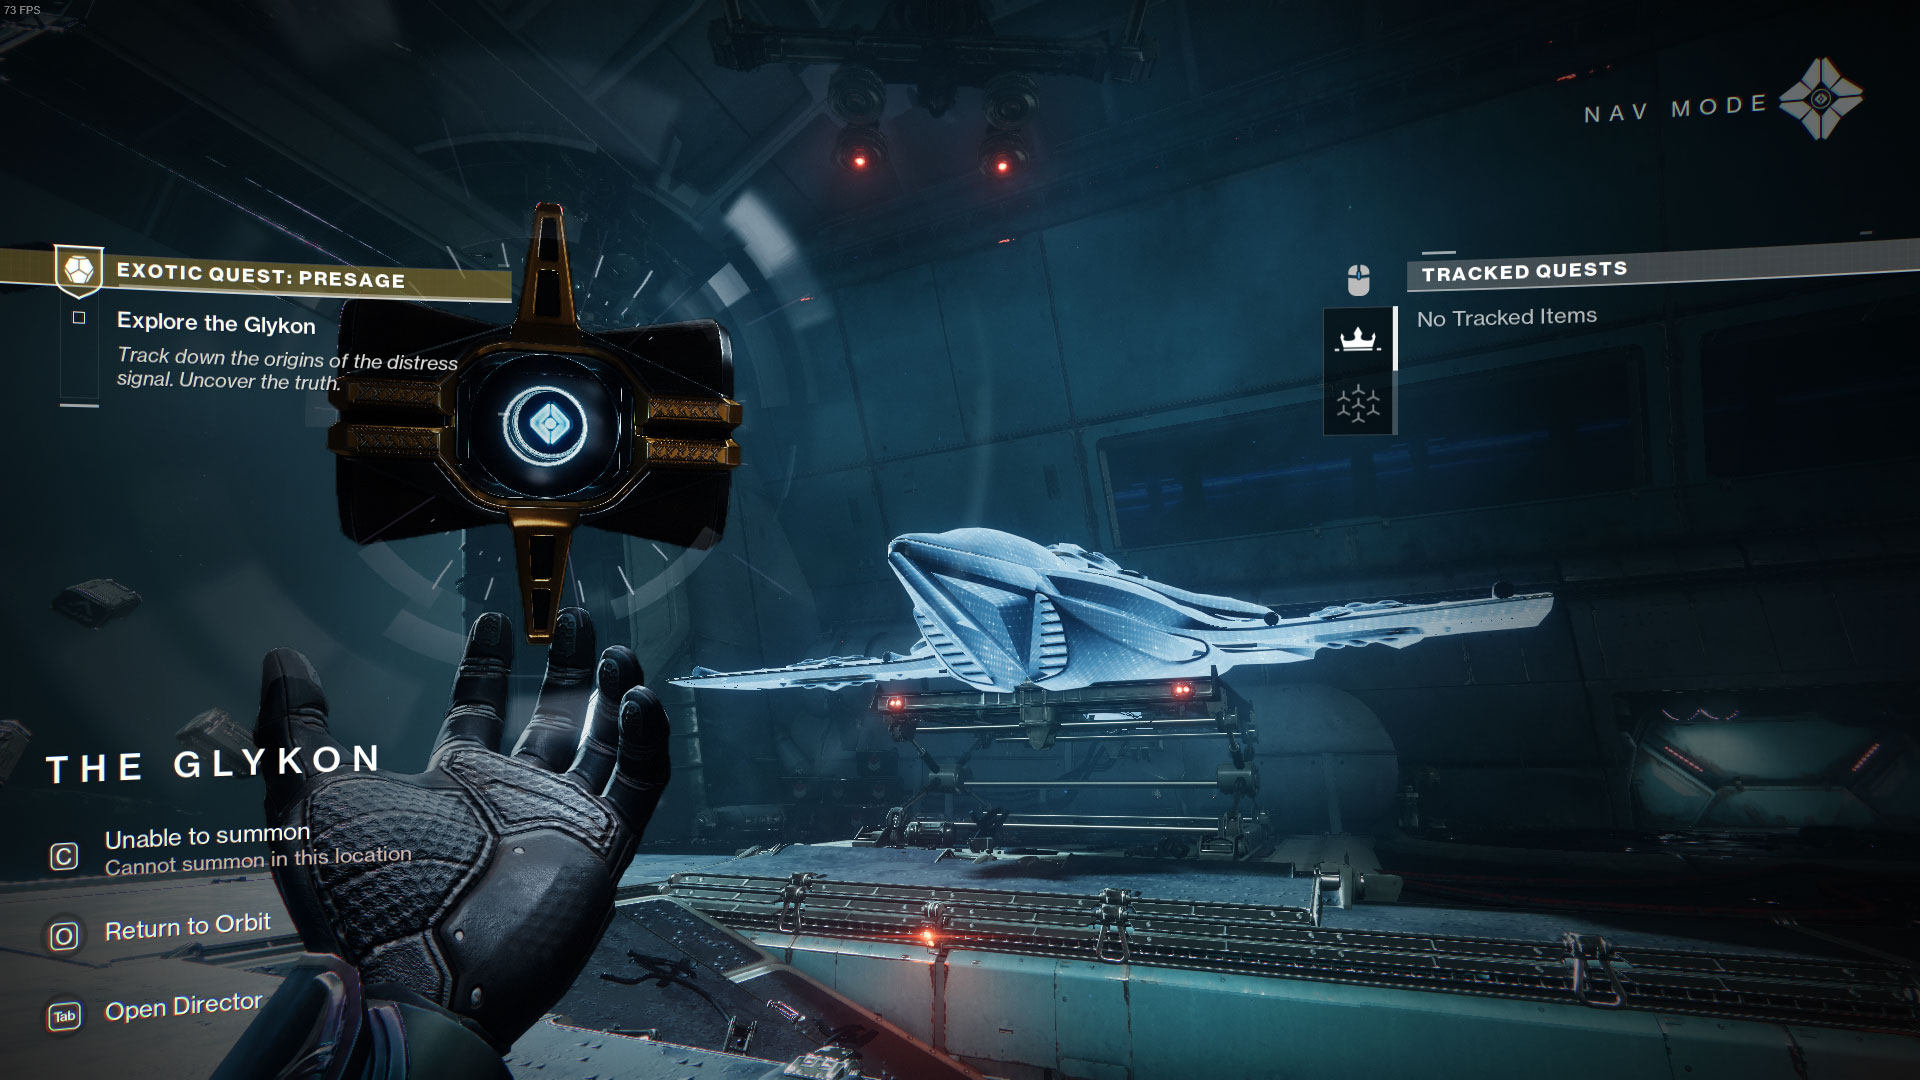
3. Opulent Guardian Ship
The 3rd scannable is at roughly the halfway mark of Presage and can be found in the hangar. Once you clear out the Scorn and complete the encounter, the ship can be found along the far wall just next to the hangar bay doors that lead to the next area. This ship follows the same design style and motif that we saw during Season of Opulence which hints that it was being used by someone that’s in Calus’ employ.

4. Dark Ether Canisters
Presage’s 4th scannable can be found in the area that’s immediately after the laboratory section with the elevated room that’s closed off by an electrical barrier. To deactivate this barrier, you’ll need to flip the switch that’s by where the exploding Screeb jump down. This will open a door directly across the room with a fuse inside of it. Destroying this fuse will drop the barrier for roughly 5 seconds so you can jump into this room. The Dark Ether Canisters will be through the doorway to your left.

5. Calus Hologram
After you defeat the Locus of Communion, go to the far back left side of that room and look for a newly opened corridor lined with pipes. Go down this walkway, drop down to the next level, turn around, and hop over the container to find a projection disc on the floor.
Another Link in the Chain
After you’ve collected those scannables, the next batch will be available after the next weekly reset. Collecting these 6 will earn the Another Link in the Chain triumph.

6. Wall Terminal
The 6th scannable is just after the room with the first scannable. From the hanging Cabal, go to the back left side of the room, jump up onto the pipe, break open the vent cover, and the computer terminal will be on the wall just to your left.
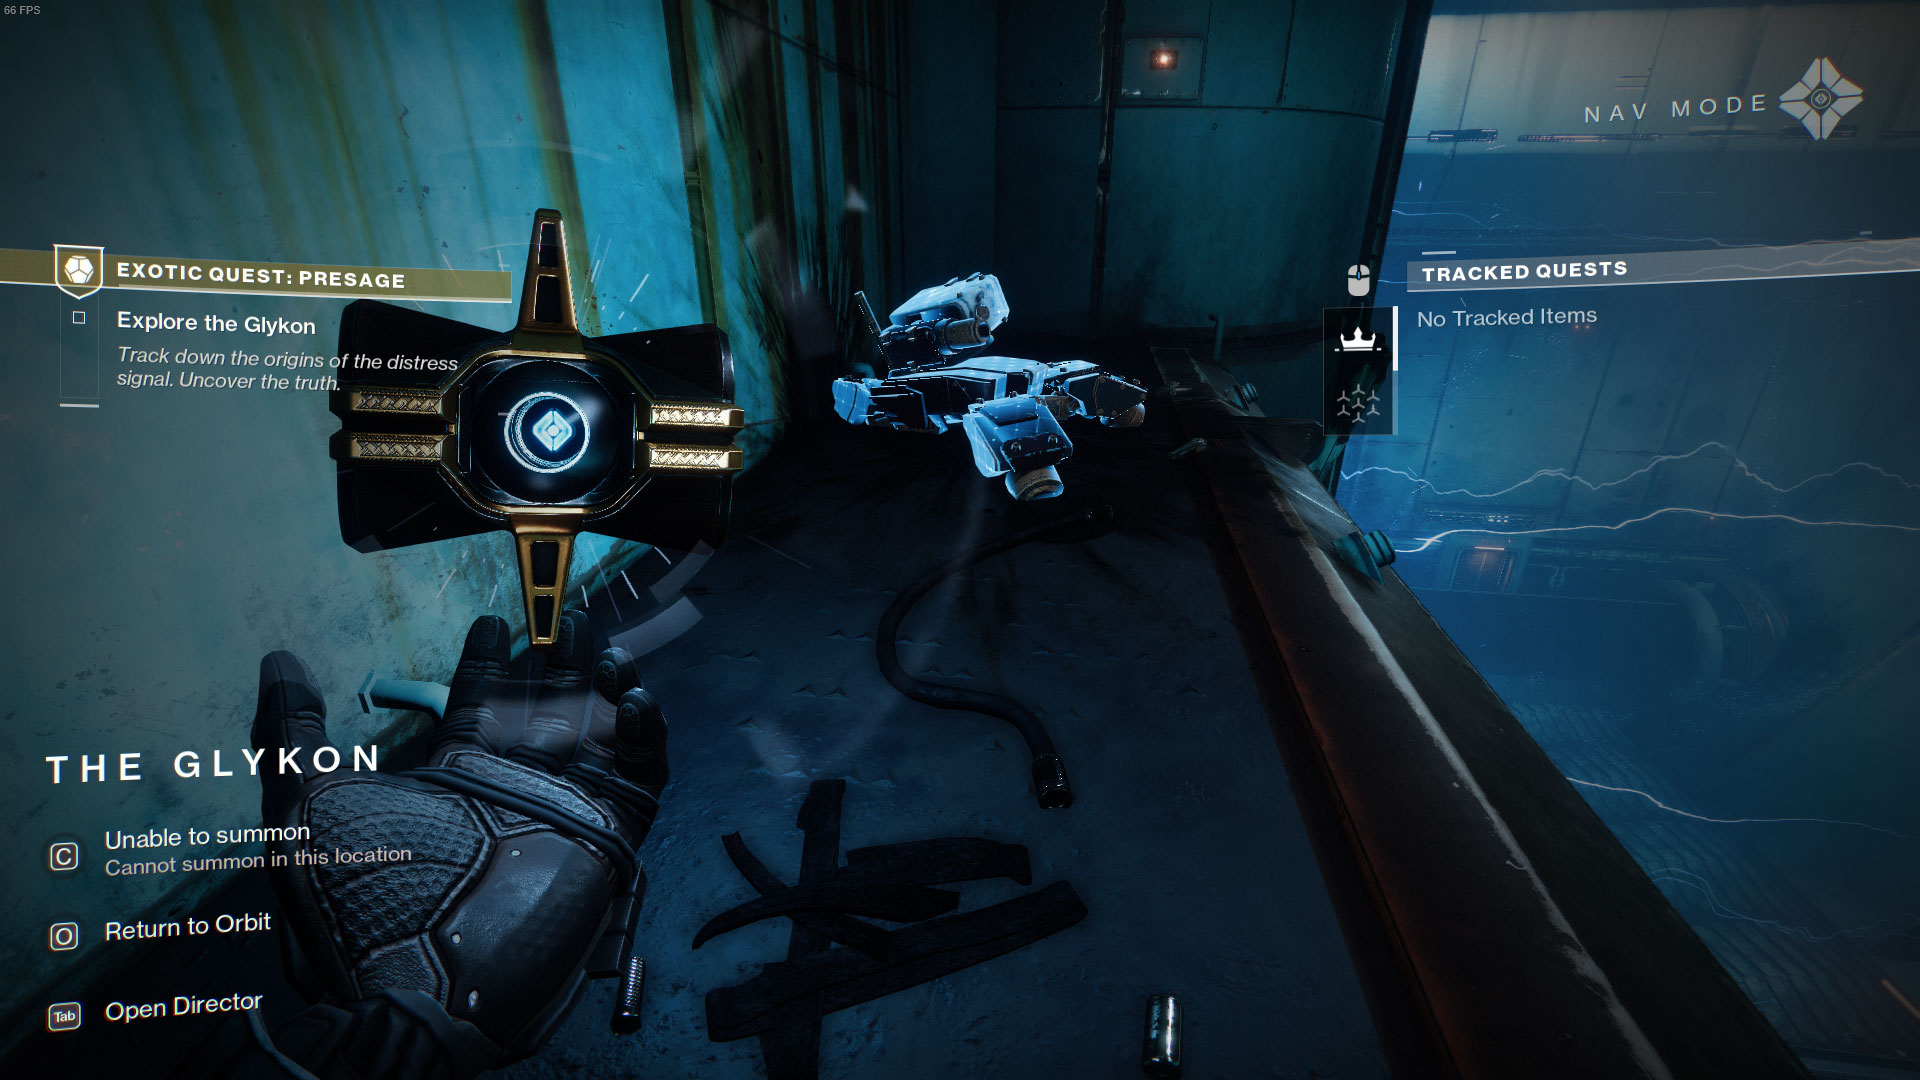
7. Cabal Scorpius Turret
The 7th scannable in Presage is in the large room that’s segmented by the electrical barriers. This is the central space with the hanging platform just before the fuse on the other side of the room. Once you enter this space, turn immediately to your left and the turret will be nestled in the corner in front of you.
8. Cabal Incinerator
The Cabal Incinerator is in the room that’s immediately after the Hangar mini-boss encounter. You can reach this room by going out the far hangar door and jump from platform to platform into this second hangar. There will be a Thresher docked in this hangar and the incinerator is on the left side of the floor beneath it.
9. Laboratory Scorn
Once you’ve gotten the Incinerator scannable, you’ll make your way through some access tunnels which lead to a shaft that drops down into a laboratory. There’s a dead Scorn lying on top of a circular dais in the middle of this room.
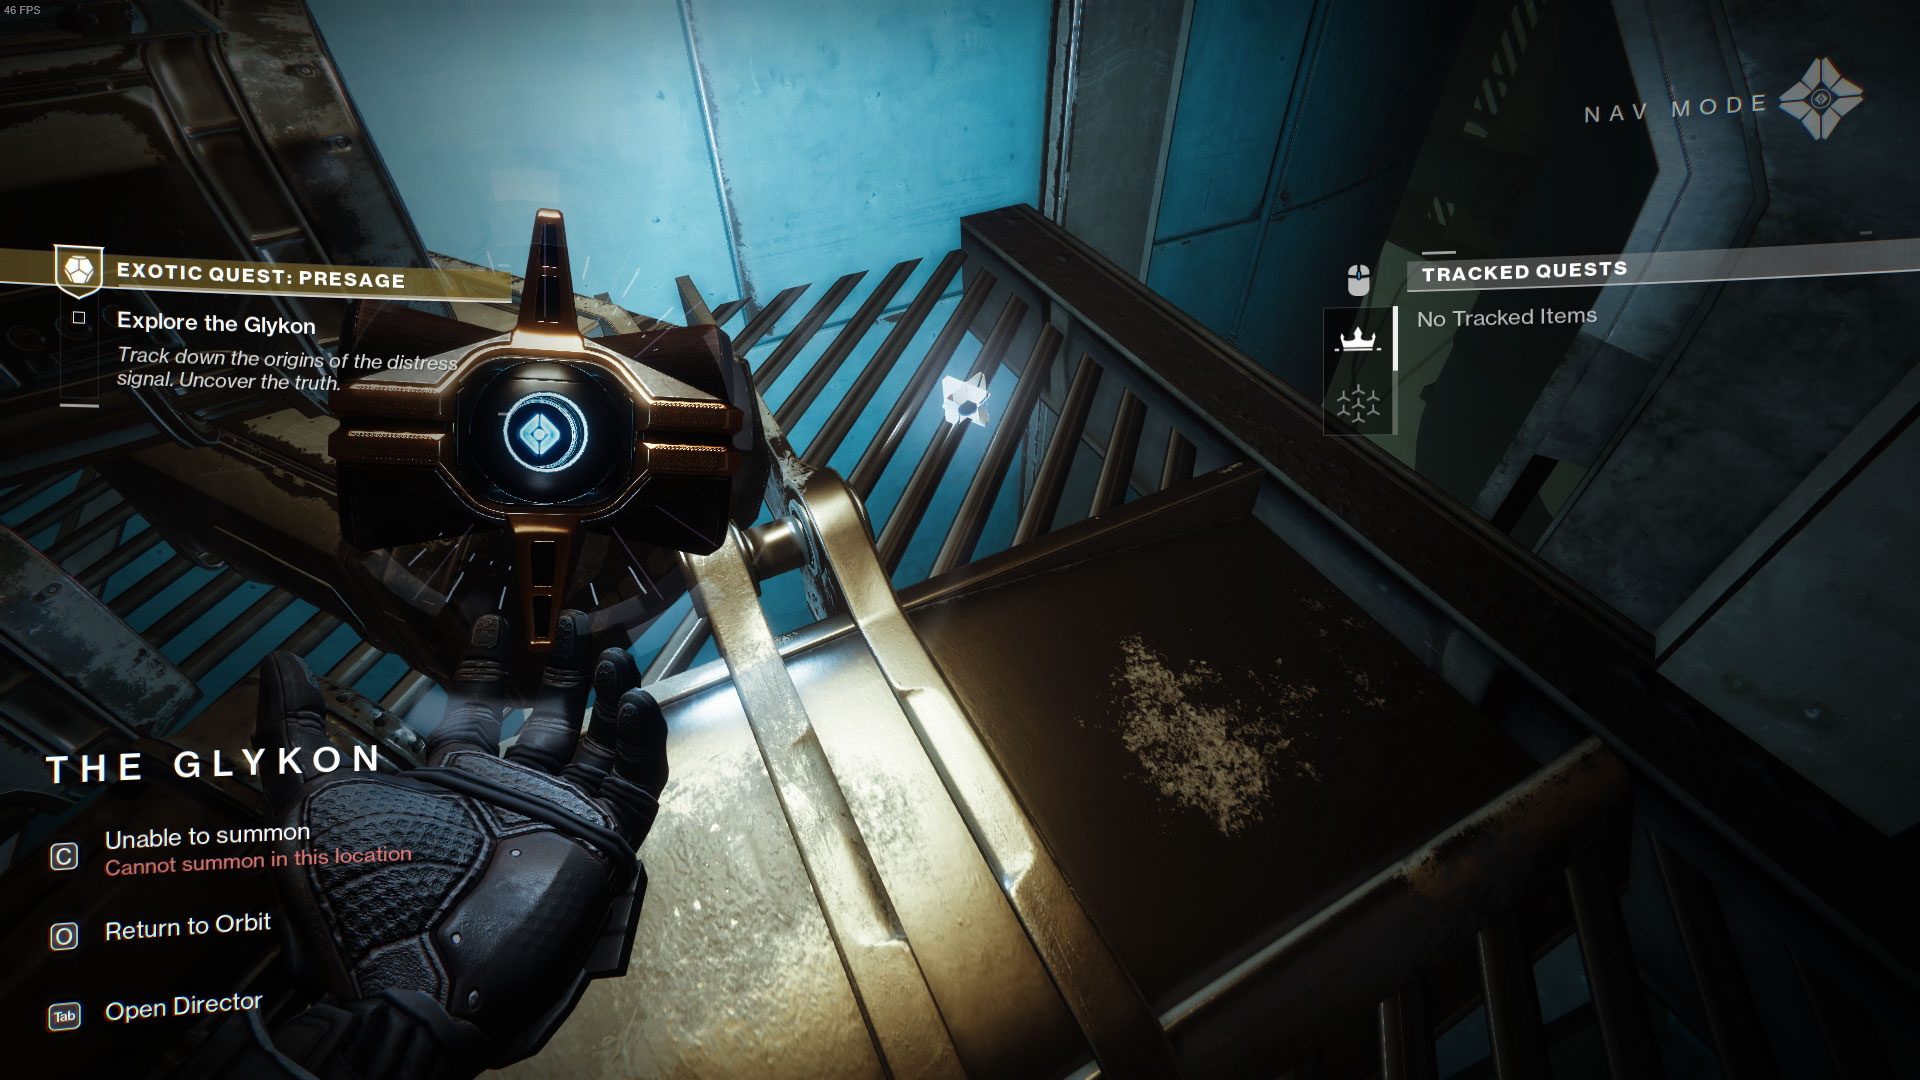
10. Dead Ghost
This scannable is tucked away within Presage’s final jumping puzzle that has the double rotating platforms. You may have already found on your first time through the mission. If you didn’t, hang a right on the second rotating platform and you’ll find the dead Ghost behind a pile of boxes.
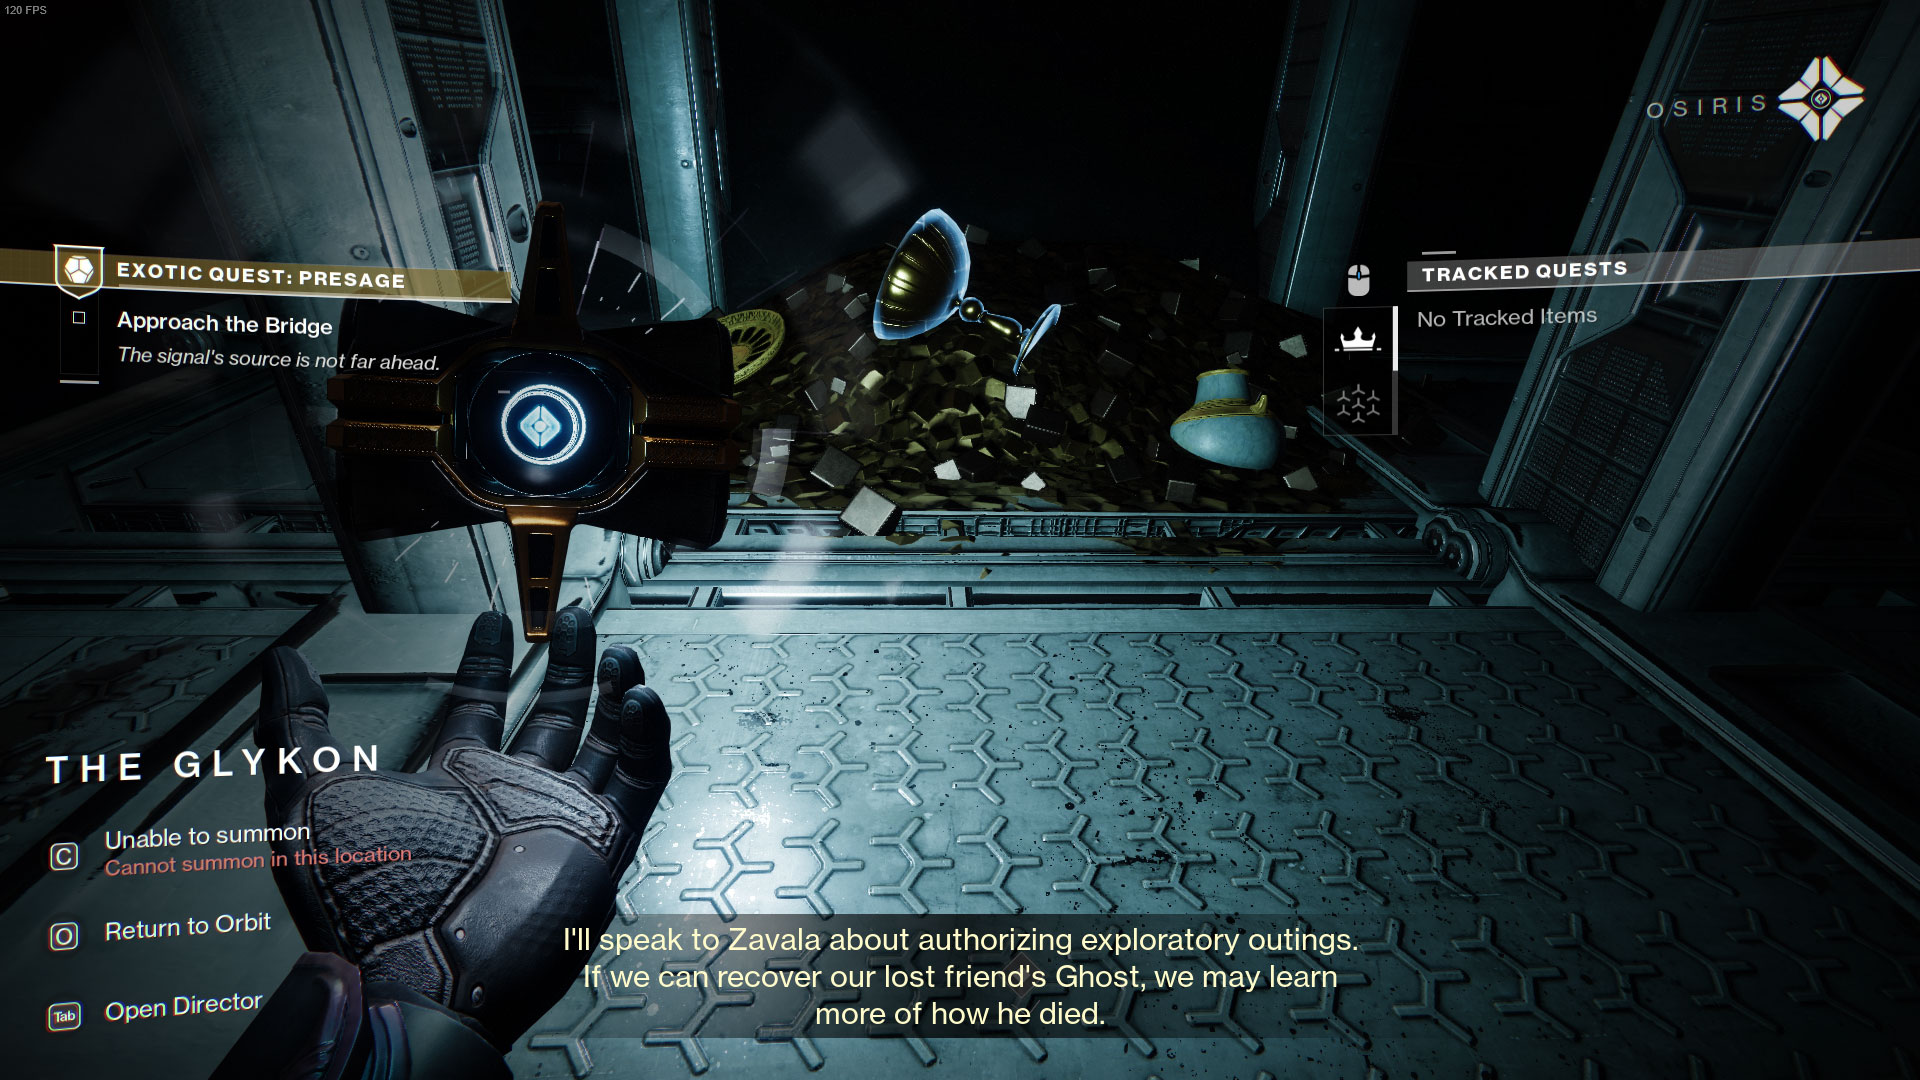
11. Chalice
The 11th scannable is after the boss in the final room with the dead Guardian. If you’re looking at the Guardian and Dead Man’s Tale, pull a 180° turn, hop off the catwalk, and the Chalice will be underneath on the far end atop a pile of Cabal gold.
All the Scattered Pieces
The last batch of scannables will become available once you’ve collected the first two. You have to scan all 11 and complete both Figments of an Answer and Another Link in the Chain before these final 4 can be scanned.
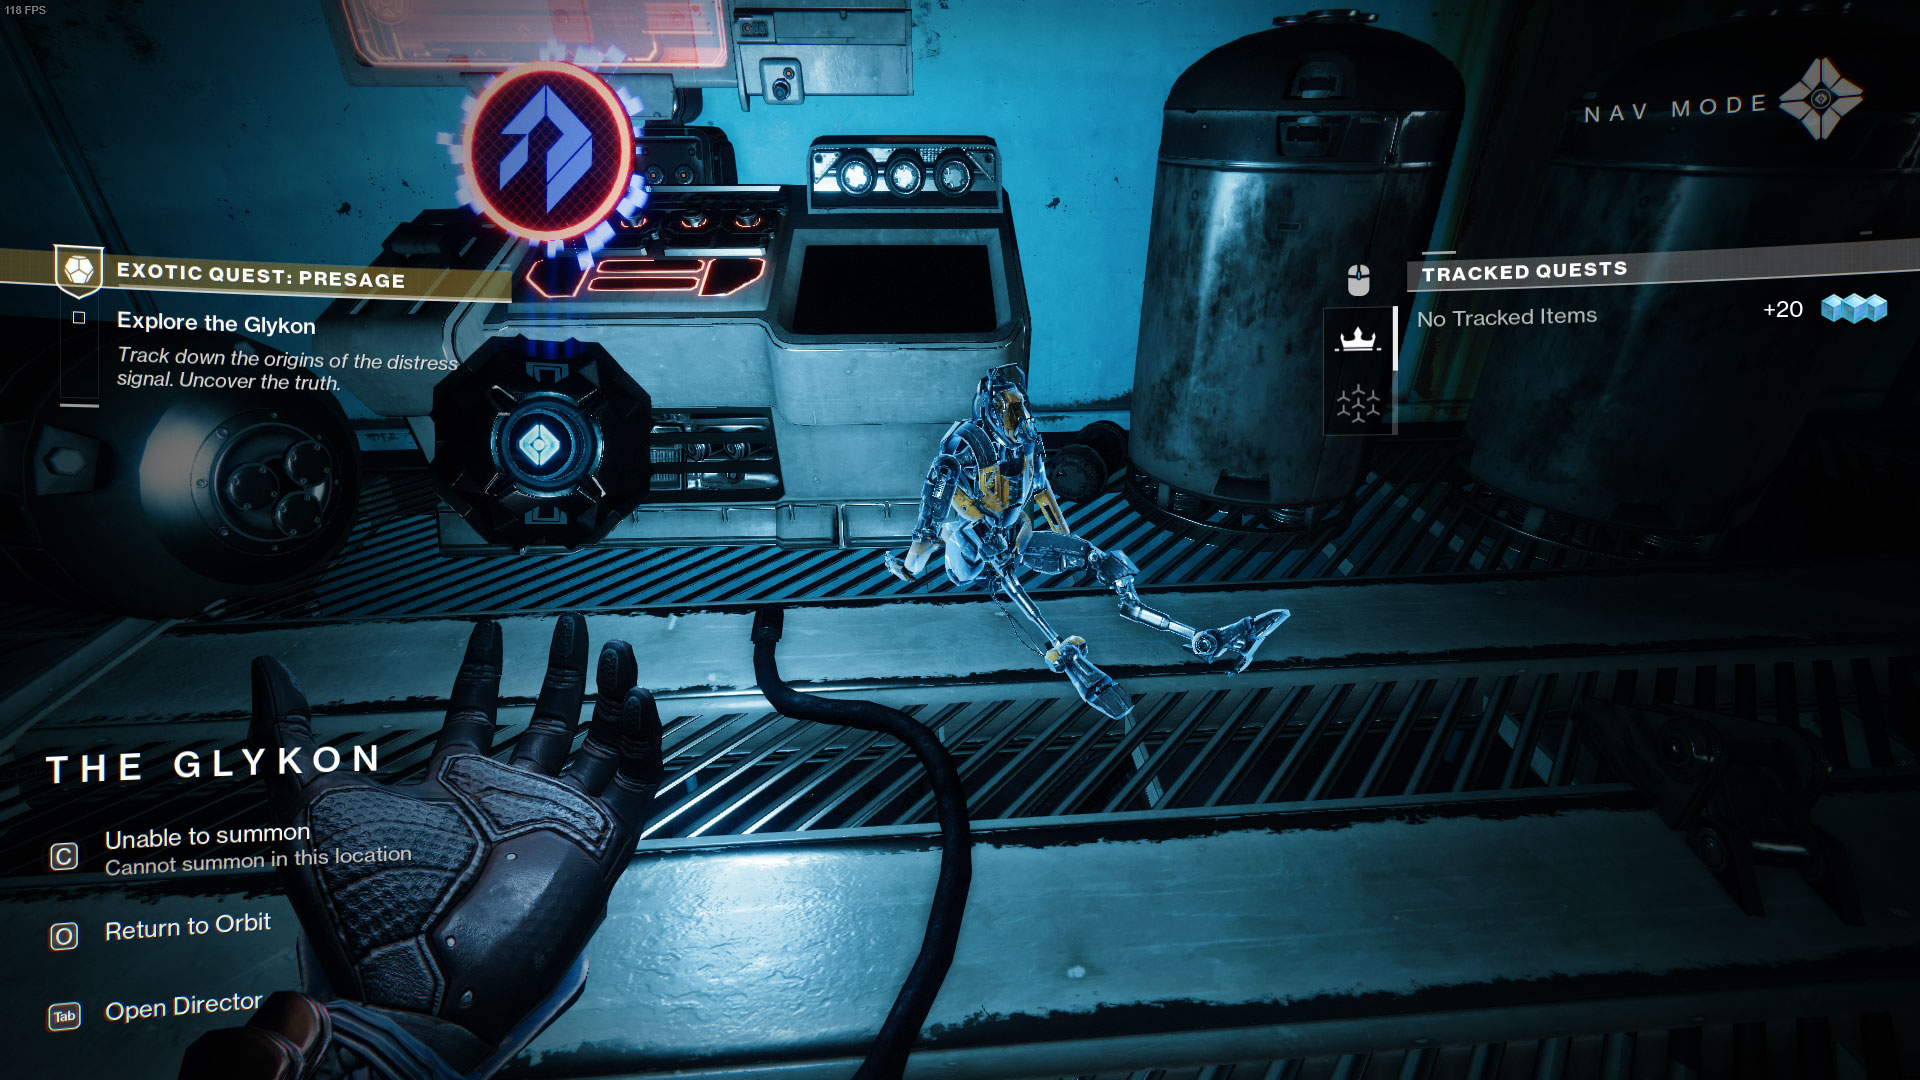
12. Combat Frame
The first scannable in this batch is in the same room with the electrical barrier where you found the Scorn Tether Shell. When you land in this room, turn around and go through the giant doors into that room. A handful of exploding Screeb will spawn in this space so deal with them first. Once you’ve defeated them, hop up on the raised platform and look for the inert combat frame in front of the computer terminal.
13. Ship Equipment Array
This scannable is immediately between the Opulent Guardian Ship and the Cabal Incinerator in the hangar portion of Presage. Once you’ve beaten the encounter in the first hangar, jump onto the first platform outside the ship and look up to your left. There’s a second platform for you to jump onto so you can scan the equipment array on the side of the Glykon.

14. Hangar Datapad
Your next scannable is in the hangar immediately after ship equipment array. On the raised walkway to your left is a datapad nestled in the corner. Look for the yellow screen to find it, head over there, and scan it.

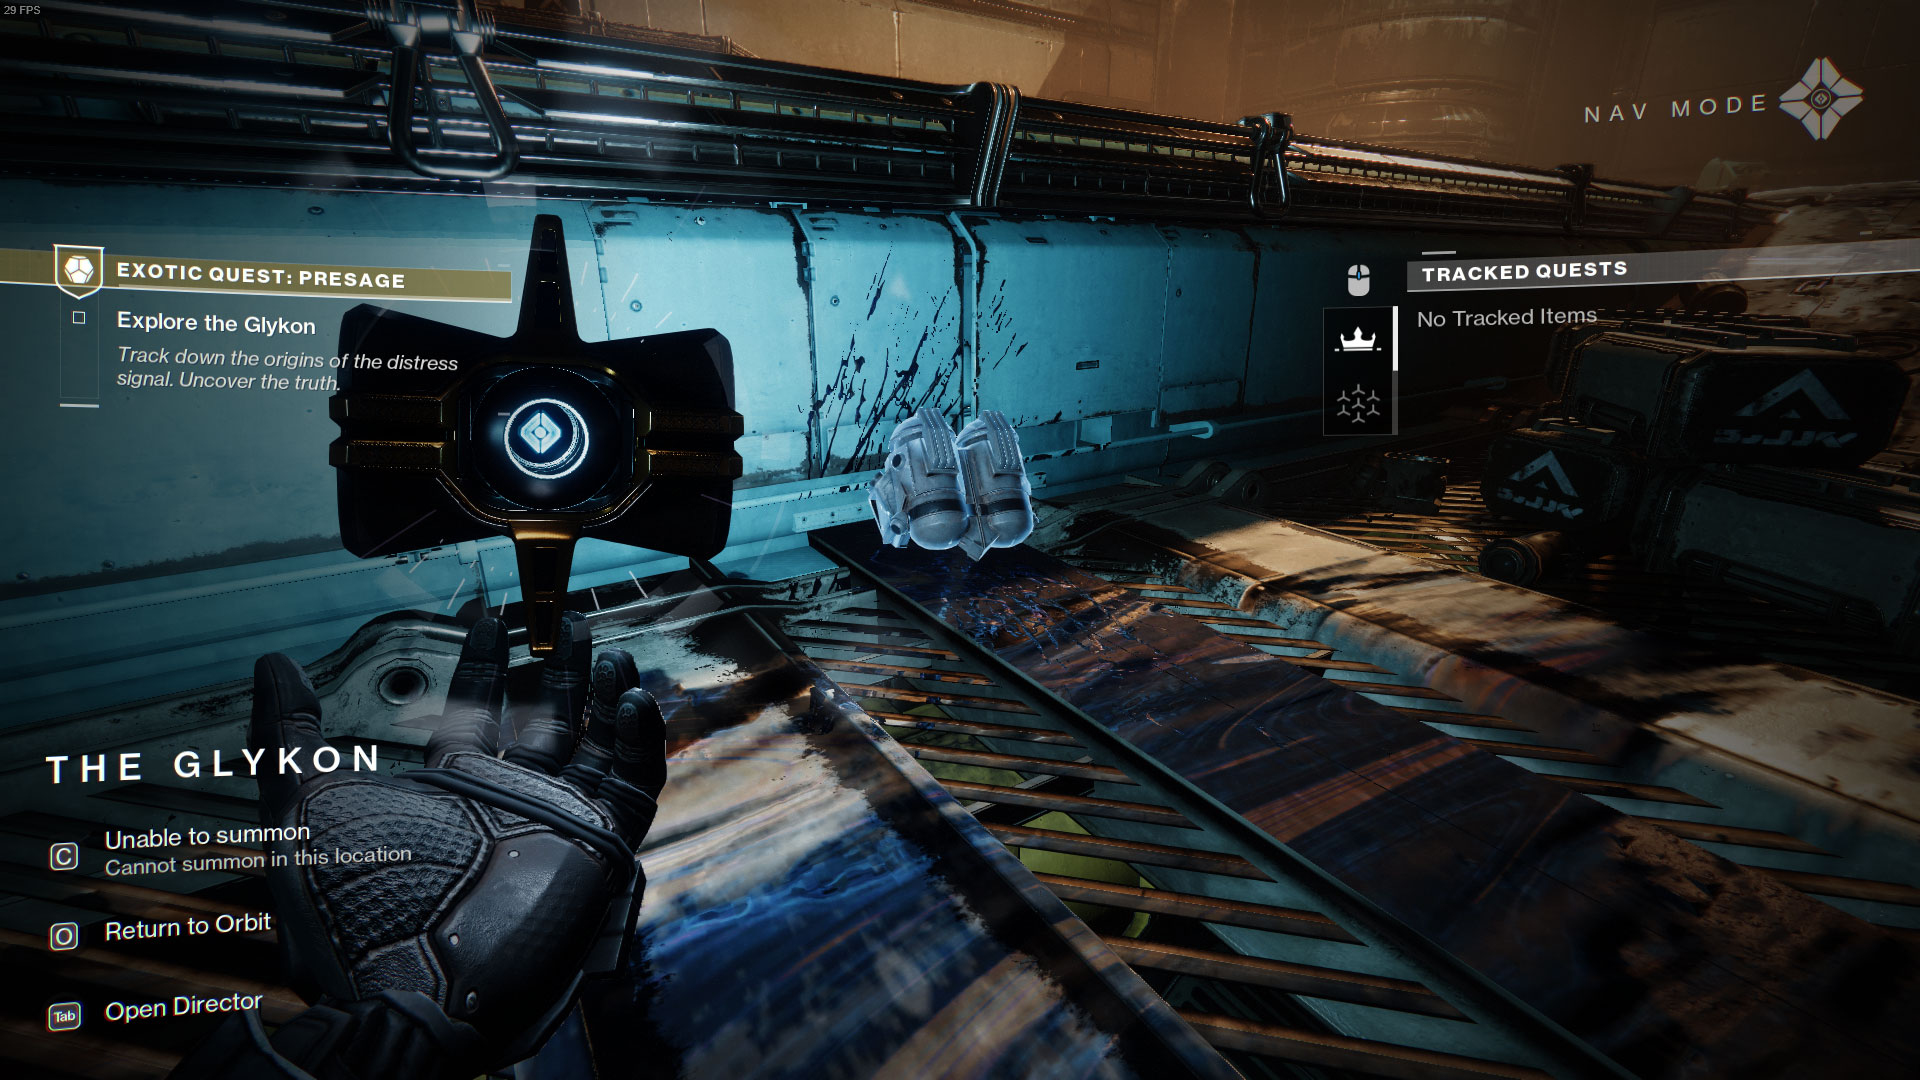
15. Makeshift Cot
The 15th and final scannable in the Presage mission is just before the final drop down into the boss room. This scannable is located immediately after the Darkness barrier from the jumping puzzle with the dead Ghost. Once you’re through the barrier, the cot is directly in front of your nested in the back right corner.

Kenny Empey
Kenny is a lifelong gamer that enjoys writing in-depth guides for RPGs, JRPGs, strategy, and FPS games. You can follow him on Twitter, YouTube, or Twitch to stay up to date with the latest content and guides from ArcadeHaven.io


