Complete Guide to Astral Alignment: Season of the Lost’s Seasonal Activity
Check out our comprehensive guide to learn the ins and outs of Season of the Lost's new seasonal activity, Astral Alignment.
Season of the Lost’s main seasonal activity is called Astral Alignment and a lot of it should feel very familiar to Guardians that played Destiny 2 during Forsaken. A good portion of this activity feels like Blind Well 2.0 (in a good way) as the next logical step for the activity. The blending of familiar mechanics with some fresh ones makes Astral Alignment an enjoyable and engaging activity.
To play this activity, you’ll need to have gone through Season of the Lost’s introductory mission and have picked up your seasonal artifact, the Wayfinder’s Compass. Once you’ve done that, you can queue up and start chipping away at the requirements for your seasonal challenges, Triumphs, and the Realmwalker title.
Astral Alignment has a lot of moving parts and it can feel very hectic if you’re a newer player. We put together this comprehensive guide to help you understand what’s going on so you can successfully complete this activity.
Astral Alignment Guide
Astral Alignment is a 6-man matchmade activity that has Guardians reclaiming the Blind Well from Xivu Arath’s Taken forces. Players can launch the activity by going to the Dreaming City on the Director and selecting the icon to the right of the Blind Well. You can play this game mode as a solo player or in a fireteam and if you don’t have a full fireteam, matchmaking will fill the remaining spots for you.
There are 4 phases to the activity and we cover each of them in great detail below.
Phase 1: Crush the Intruders
The first stage of Astral Alignment has Guardians clearing Scorn out from the Blind Well. There isn’t too much that’s worth talking about here. The majority of the mobs here are regular red bars with a few Majors thrown in. As long as you don’t overextend by yourself, you and your fireteam should make quick work of the Scorn here.
Once they’re cleared out, return to the central column and have one player insert the Wayfinder’s Compass into the floating totem. This will teleport you and your fireteam to the next stage.
- Clear out the Scorn from around the Blind Well
- Insert a Wayfinder’s Compass to move on
If you’re ever running low on special and/or heavy ammo or your abilities are exhausted, don’t forget that you can drop a banner on the rally point at the beginning of the next stages.
Phase 2: Collapse the Taken Rifts
The second stage of Astral Alignment revolves around stopping the invasion of Taken enemies. To accomplish this, Guardians will need to collapse the Taken Rifts while contending with waves of Taken enemies, Champions, and mini-bosses that spawn periodically throughout the encounter.
The Taken Captains you’re looking for have solar shields and glow with a secondary white Taken aura. They’ll drop a Taken Essence once you’ve defeated them. Pick this up and take it to one of the open Taken Rifts on the center platform or at the far end of the island. You’ll know where you need to go as you’ll a waypoint with a downward arrow will tell you which Rifts are still active.
- Activate the Beacon
- Defeat the Taken Captains
- Pick up the Taken Essence
- Dunk it on one of the active Taken Rifts
- Defeat Champions and Bosses as they spawn
- Rinse, repeat.
Something worth pointing out is that the longer you hold a Taken Essence, you’ll receive a stacking buff called Taken Essence Antumbra. This buff will prevent you from picking up another Taken Essence until it’s gone.


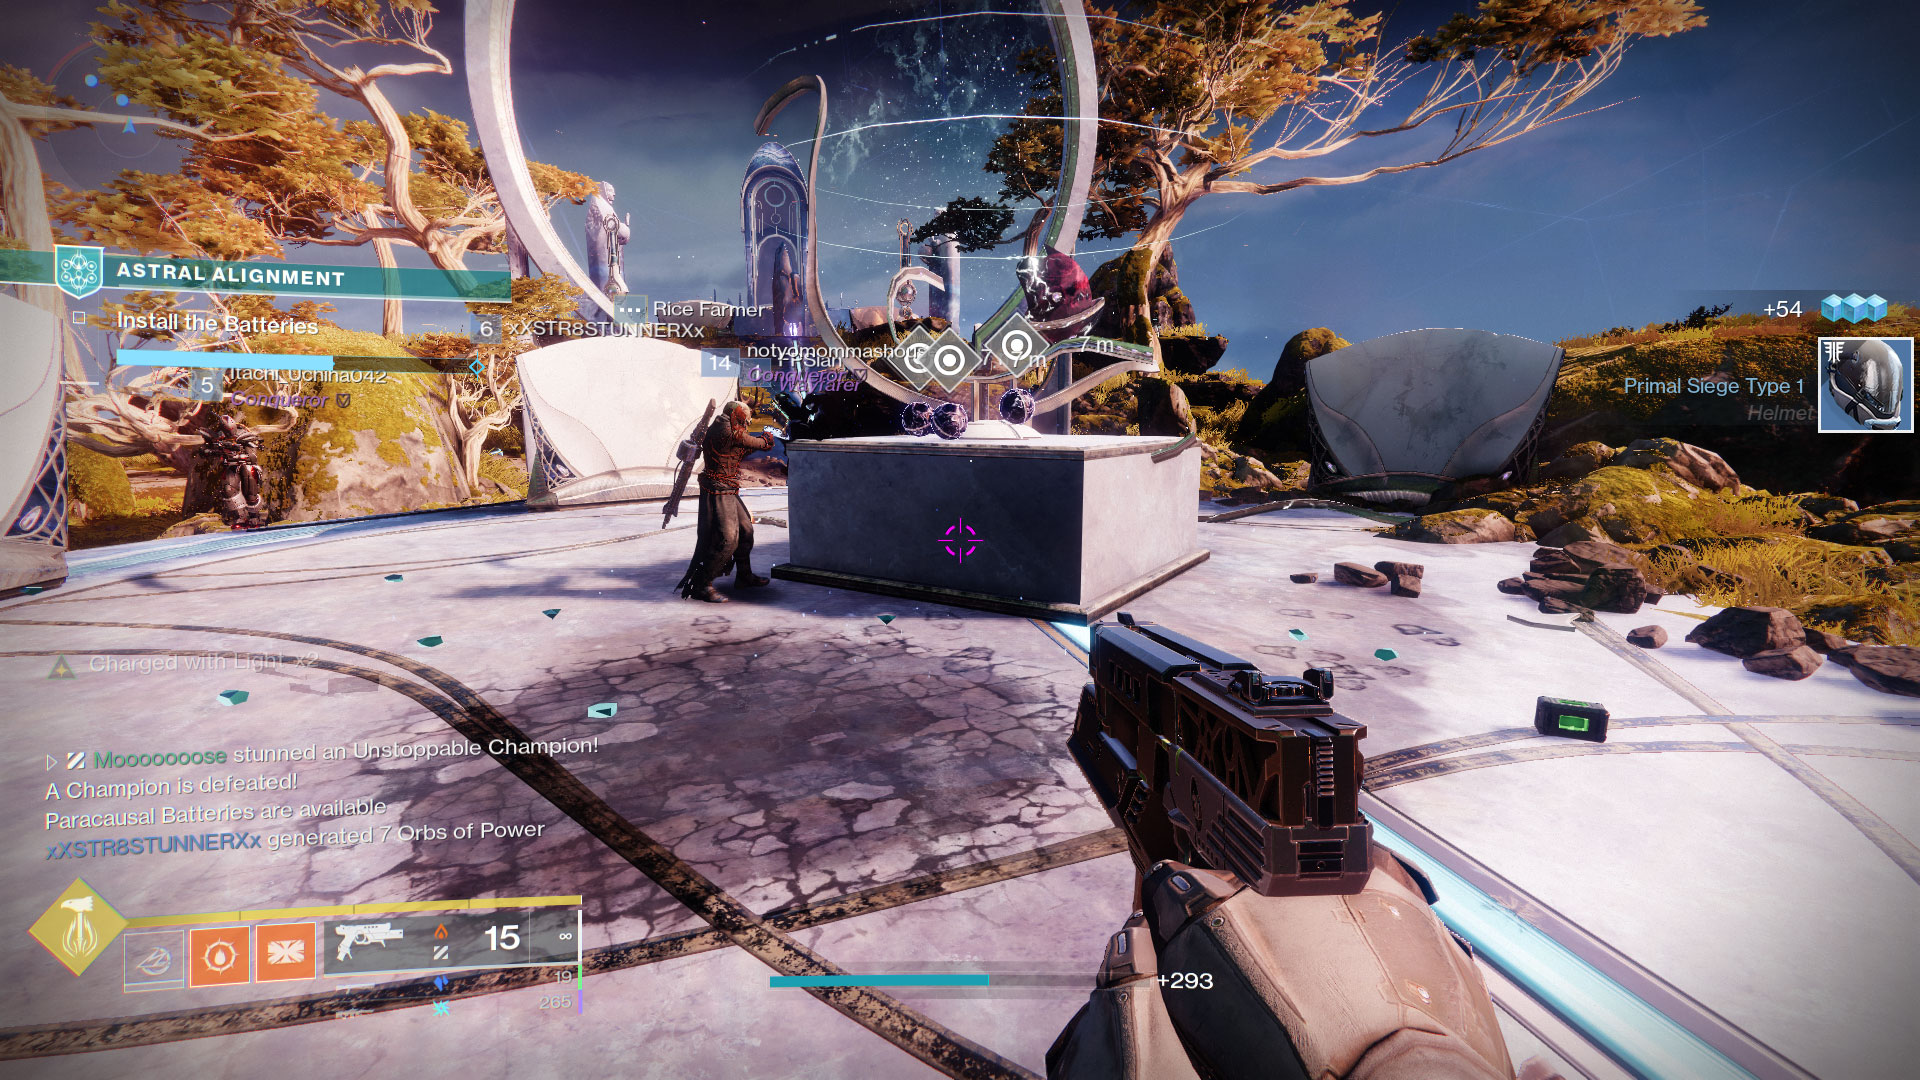
Phase 3: Install the Batteries
This stage tasks Guardians with recovering Paracausal Batteries from the Taken and returning them to the Blind Well. To get your hands on the batteries, you’ll need to defeat two Taken Wizards and a Champion that spawn at the remote platforms twice throughout this stage.
Each pack will drop 3 batteries that need to be returned to the central platform to be deposited on one of the open plates.
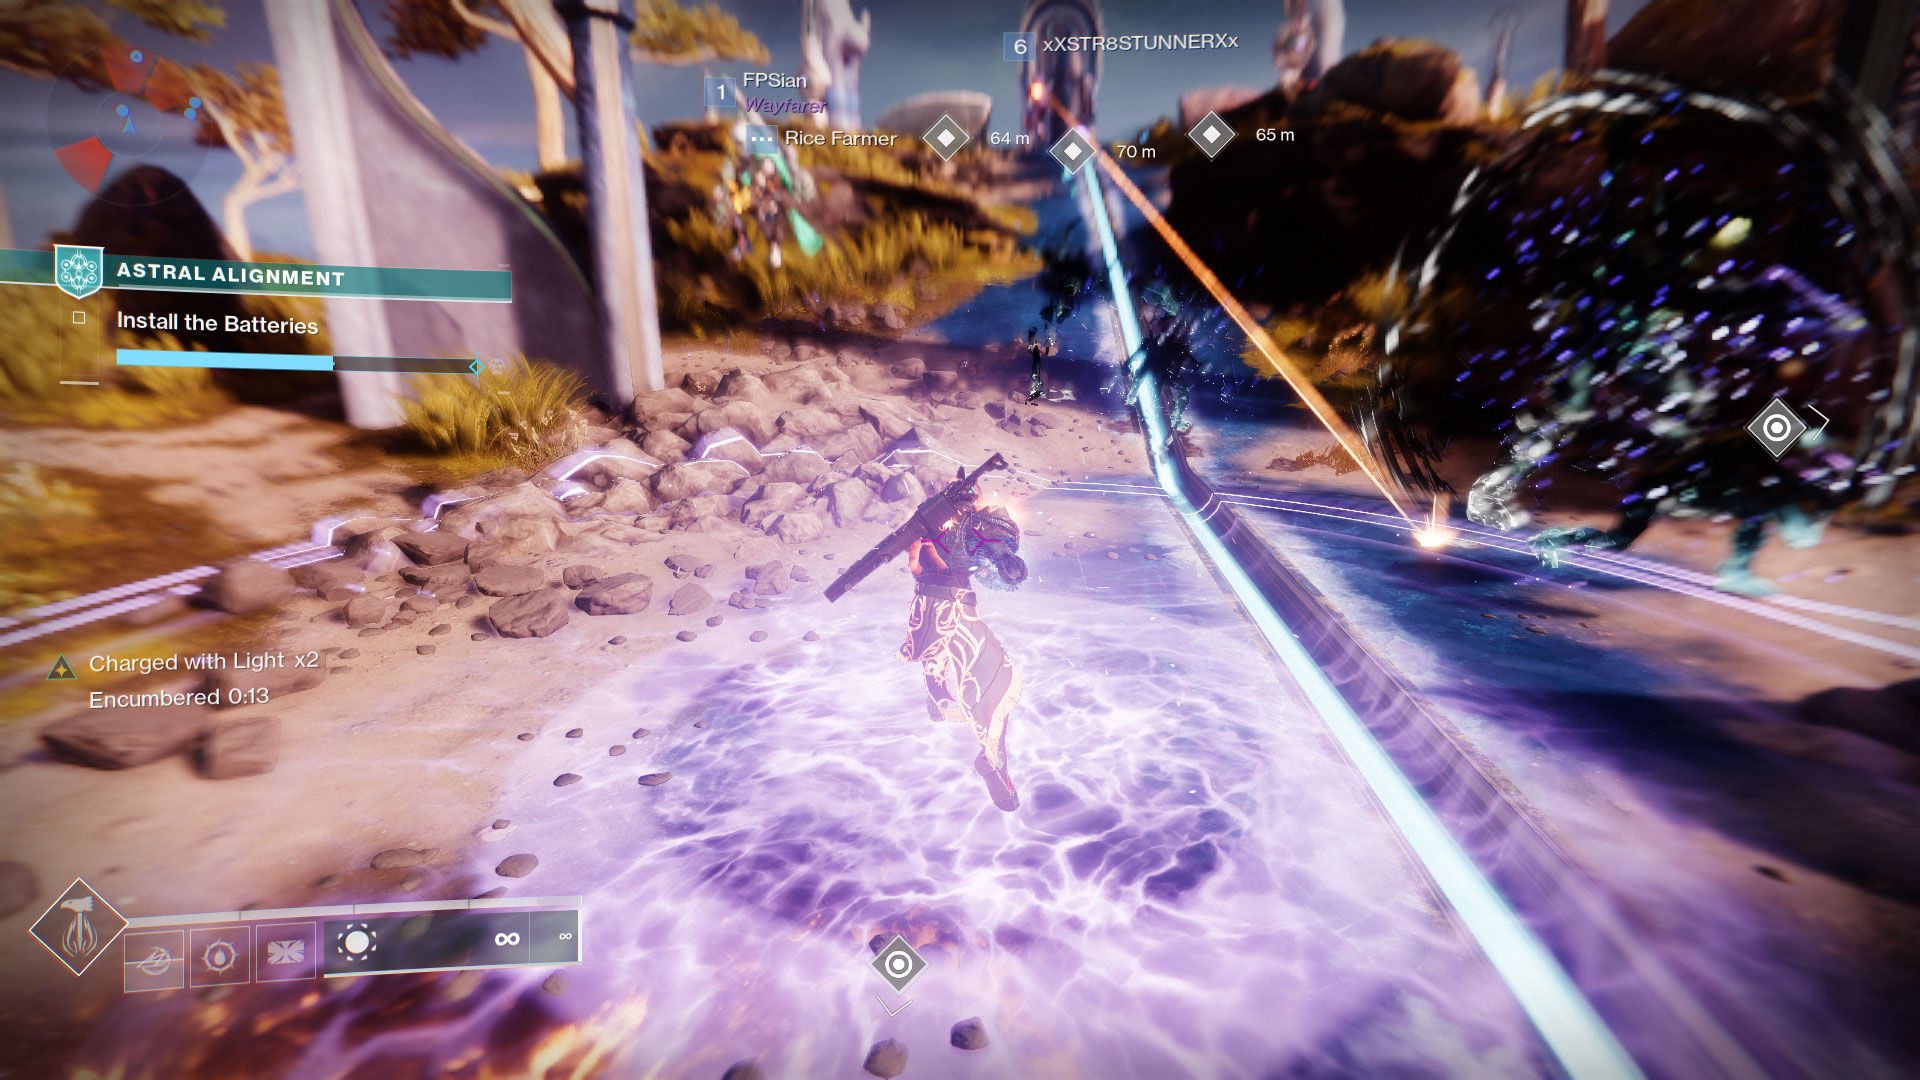
When you pick up a Paracausal Battery, you will get a 20 second debuff called Encumbered which reduces your movement speed. Once this debuff is over, you automatically drop your battery. This isn’t enough time to get back to the central platform so you are going to drop your battery.
When the timer starts getting close to zero, look for a flat area to drop it. The battery will roll back down the hill making it take longer for the next person that picks it up.
And, when you drop the battery, you get a 10 second debuff called Exhausted which prevents you from picking up another battery. Your team will need to be coordinated during this section so it doesn’t take more time than it needs to. If your team is coordinated enough, you can complete the triumph that requires each Guardian to deposit one Paracausal Battery.
- Activate the beacon
- Defeat the Taken Wizards & Champion at the remote platform
- Grab a Paracausal Battery
- Take it back to the main platform
- Dunk it on one of the open plates
- Rinse, repeat.

Phase 4: Defeat the Boss
There are currently two bosses for the Astral Alignment activity, Kholks and Kruutiks. Presumably, these bosses will rotate weekly so we have Kholks during Week 1 and we should see Kruutiks on Week 2.
Kholks, Taken of Xivu Arath Boss Strategy
Kholks is an enormous Taken Ogre that will be shielded for most of the fight. The main mechanic of this encounter revolves around getting this shield to drop so your Fireteam can DPS him. With enough rotations, your team will defeat him and be rewarded with two chests. One regular and the other is a Wayfinder’s Trove which needs 150x Parallax Trajectory to unlock.
This fight starts out with multiple waves of Taken that spawn in quick succession around the central pillar of the Blind Well. These waves are primarily red bars, but there are the occasional Elites and Ultras that spawn in too. Your team can make quick work of them by chaining their supers since the Taken are, quite literally, in a meat grinder.
Now, Kholks does spawn in at the same time as these waves, but he’s a big, dumb Ogre that does big, dumb Ogre things. Your fireteam can literally ignore him until you take care of the bigger threat which are the dozens of enemies that are spawning in. The only thing you need to keep an eye on when it comes to him are the dozens of seeking Taken blights that will home in on the nearest Guardians.
Ignore the big guy until the waves are over and then shift DPS over to him to bring him down to 2/3’s health. This will make his shield will pop up and render him immune from all attacks.
In order to drop his shield, you’ll need to get a Taken Essence from an Eye of Xivu Arath. If you remember the 2nd phase of this activity, these are the Taken Captains that dropped the same item. The Essence is the only thing that can deal damage to Kholks’ shield.
Grab the Taken Essence and head towards Kholks. You can deal damage one of two ways. First, you can fire the essence like a regular weapon with your primary weapon bind. This deals roughly ~9.4k damage per hit. The other way to deal damage is by using its “Super” ability which deals ~160k damage. If you use the Super, you’ll need to use two Taken Essences to destroy his shield.
Once his shield is down, you have another DPS phase to get him below 1/3’s health, at which point you’ll repeat this process again until Kholks is defeated.
- Defeat multiple waves of Taken that spawn immediately around the central column in the Blind Well
- Kholks will spawn in without its shield so put as much DPS on it as possible
- Go to the nearest Taken Blight and defeat the Taken inside to spawn an Eye of Xivu Arath
- Defeat this Taken Captain and pick up the Taken Essence it dropped
- Take the Essence to Kholks and use the super ability
- Rinse, repeat until the shield is down
- Deal damage until the shield goes back up
- Repeat the previous process until it’s defeated
- Collect your loot
Kruutiks, Reefbane Boss Strategy
Coming soon!

Kenny Empey
Kenny is a lifelong gamer that enjoys writing in-depth guides for RPGs, JRPGs, strategy, and FPS games. You can follow him on Twitter, YouTube, or Twitch to stay up to date with the latest content and guides from ArcadeHaven.io